Banner

Step-by-Step Host Onboarding Flow

? StoreInMySpace – Step-by-Step Host Onboarding Flow

? STEP 1 — Welcome & Value Proposition

Screen Purpose: Motivate the host to begin.

Headline:
“Turn your unused space into monthly income.”

Key points shown visually:

  • Earn extra income
  • Help your community
  • Safe & secure storage platform
  • No long-term commitment

Button:
Get Started


? STEP 2 — Create an Account

Required:

  • Full name
  • Email
  • Password

Verification:

  • Email confirmation link
  • Option to continue with Google/Apple login

Goal: Remove friction & make account creation fast.


? STEP 3 — Verify Your Identity (Trust Step #1)

Required:

  • Government ID upload (driver’s license/passport)
  • Selfie/liveness check (automated)

Note shown on screen:
“Verification protects both hosts and renters. Your information is securely processed and never shared.”

Button:
Verify Identity


? STEP 4 — Enter Your Property Address

Required:

  • Address
  • Postcode
  • Map pin drop

Verification Measures:

  • Auto-fill from Google Places
  • Check ZIP/Postcode match
  • Geo-confirm photo metadata later

Button:
Confirm Address


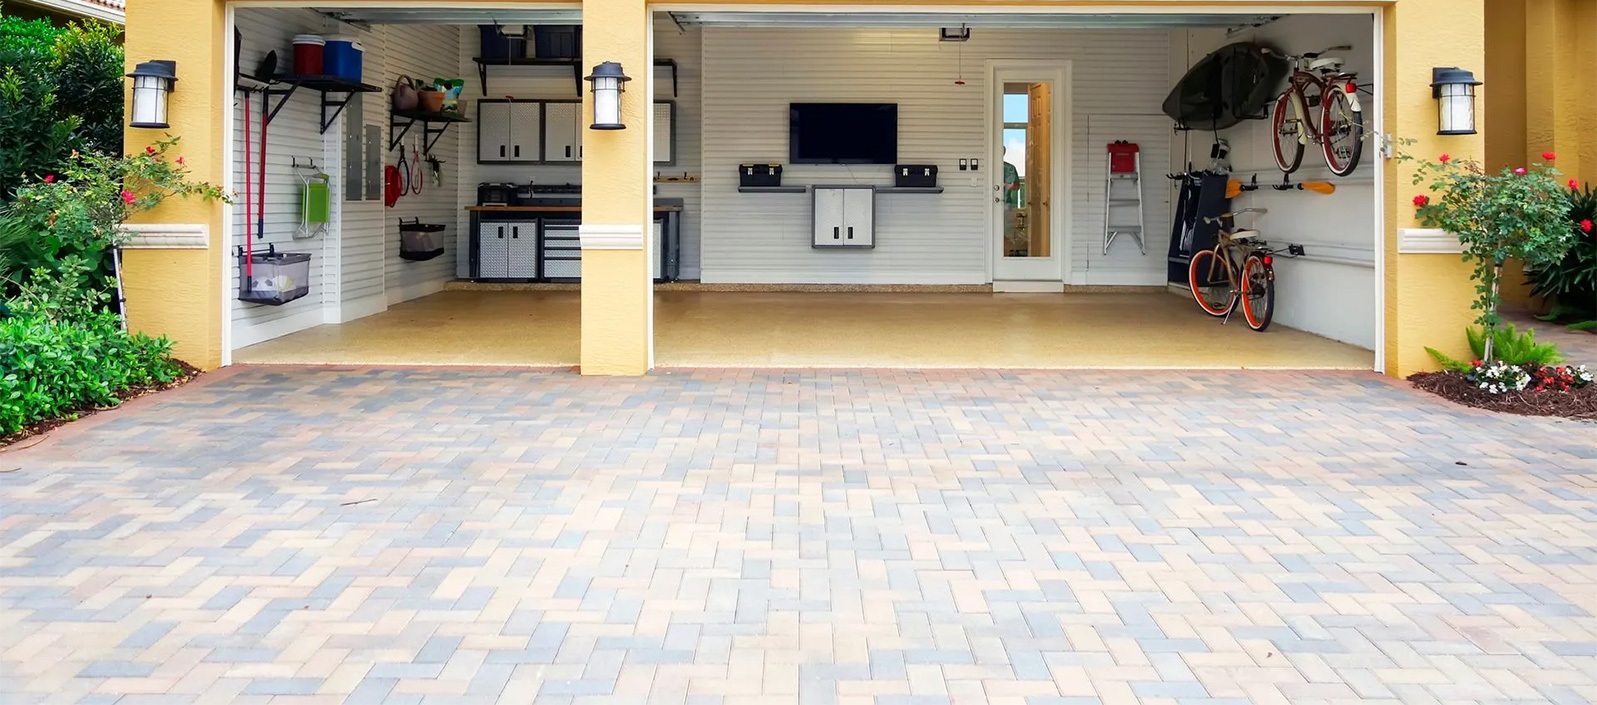
? STEP 5 — Choose Your Space Type

Options:

  • Garage
  • Spare Room
  • Loft/Attic
  • Driveway/Parking Space
  • Shed/Outbuilding
  • Commercial Space
  • Other

Smart feature:
Show icon + mini description for each.

Button:
Continue


? STEP 6 — Describe Your Space

Fields:

  • Space size (dropdown + optional measurements)
  • Indoor / outdoor
  • Temperature stability
  • Cleanliness (checkbox)
  • Suitable for:
    • Boxes
    • Furniture
    • Business inventory
    • Vehicles
    • Tools
    • Other
  • Restrictions (auto list: no chemicals, perishables, flammables, weapons)

Purpose: Gives renters clarity & ensures compliance.


? STEP 7 — Access & Security Details

Fields:

  • Access type:
    • 24/7 access
    • Host-assisted access
    • Appointment only
  • Entry method: key, keypad, smart lock
  • Security:
    • Lock type
    • CCTV
    • Alarm
    • Lighting
    • Gated property
  • Loading access (optional): driveway, ramp, parking spot available

Goal: Build trust & reduce renter questions.


? STEP 8 — Upload Photos & Video (Trust Step #2)

Required Photos:

  • Entrance
  • Inside space
  • Lock/security features
  • Lighting
  • Street-level view

Optional:

  • 20–30 second walk-through video (big trust booster)

System checks:

  • AI image validation for duplicates
  • Metadata check to confirm location

Button:
Upload & Continue


? STEP 9 — Set Your Price

Fields:

  • Monthly rate (auto-suggest based on local averages)
  • Discounts:
    • 3-month
    • 6-month
    • 12-month
  • Optional: security deposit amount

Tool:
Built-in “Income Estimator” widget auto-updates potential earnings.

Button:
Save Pricing


? STEP 10 — Availability & House Rules

Fields:

  • Available from (date)
  • Min/max rental duration
  • Access times
  • Host rules (text field)
  • Items NOT allowed (auto checklist—the system enforces compliance)


? STEP 11 — Insurance & Safety Acknowledgement (Trust Step #3)

User must agree:

  • Items prohibited list
  • Liability acknowledgement
  • Safety condition requirements
  • Insurance policy explanation (if provided)

Button:
Agree & Continue


? STEP 12 — Review Your Listing

Show a preview:

  • Photos
  • Space description
  • Access/security details
  • Pricing
  • Map location (blurred until booking)

Checklist:
✔ ID verified
✔ Address verified
✔ Photos uploaded
✔ Pricing complete

Button:
Publish My Listing


? STEP 13 — Listing Published ?

Screen shows:

  • “Your space is now live!”
  • Tips to improve visibility:
    • Add more photos
    • Offer long-term discount
    • Enable instant booking (if available)
  • Quick link to share listing
  • Dashboard overview

Button:
Go to Dashboard